


How to Prepare Digital Photos for High-Quality Printing
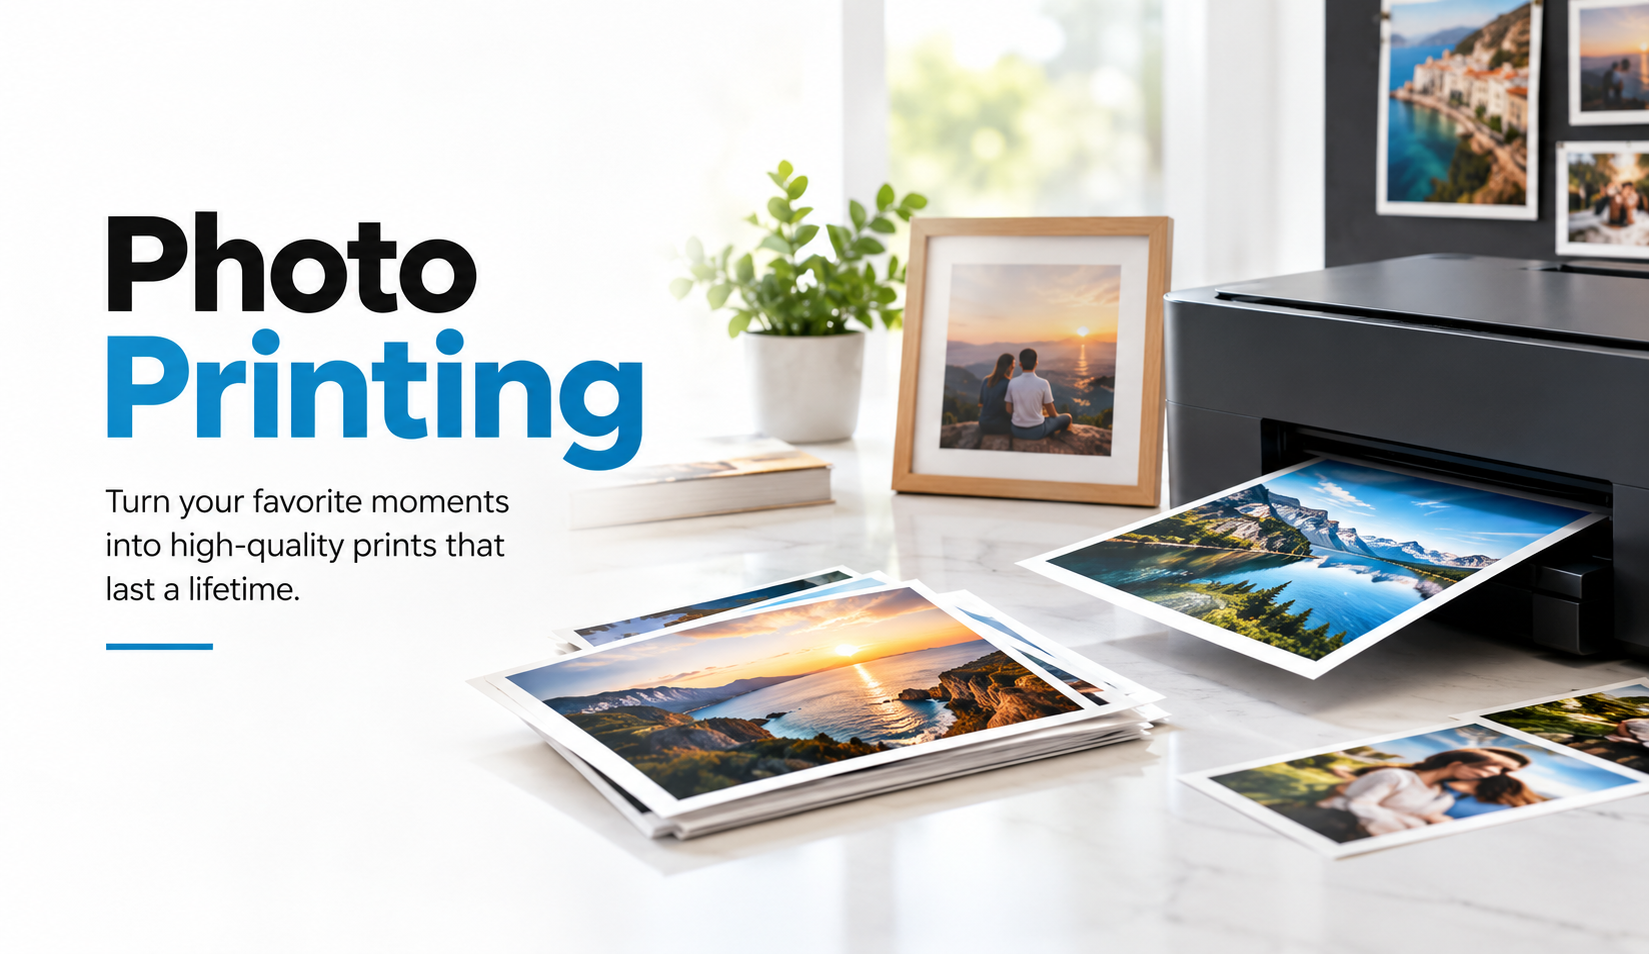
A photo can look excellent on a phone or computer and still disappoint once it reaches paper. We see this problem often in professional print workflows. The image appears sharp on screen, but the finished print reveals soft details, unexpected cropping, dull colors, or shadows that look much darker than expected.
The problem usually starts before the printer receives the file. Image resolution, pixel dimensions, aspect ratio, color settings, editing choices, and the intended print size all influence the final result. A little preparation before ordering Photo Printing can prevent many of the quality problems that become obvious only after ink reaches paper.
The good news is that preparing digital photos for printing does not require an advanced design background. You simply need to understand which adjustments improve a file and which ones only make the numbers look better without adding real image detail.
Start With the Highest-Quality Original Photo
The best print starts with the best source file available. Whenever possible, work from the original image captured by the camera or phone rather than a copy downloaded from social media, a messaging app, or an email preview.
Online platforms often compress photographs to reduce file size. That makes sharing faster, but compression can remove subtle detail from hair, fabric, skin, landscapes, and other textured areas. These losses become much easier to notice when you enlarge the image for printing.
Avoid Using Screenshots When the Original Photo Exists
Screenshots create one of the most common preventable print problems. A screenshot may look perfectly acceptable on a phone because the display shows it at a relatively small physical size. Once we enlarge that screenshot to an 8 × 10, 11 × 14, or larger print, the limited number of pixels becomes obvious.
Ask for the original file whenever you receive an image from someone else. If a photographer supplied the photograph, request the full-resolution export rather than copying an image from a website or social platform.
Be Careful With Photos Sent Through Messaging Apps
Some messaging platforms automatically resize or compress images. When someone sends an important photo for a memorial display, family project, portfolio, event, or large print, ask them to send the original file as a document or through a file-sharing method that preserves its resolution.
This small step can make a noticeable difference when the image needs enlargement.
Understand Image Resolution Before You Resize Anything
Resolution causes more confusion than almost any other part of photo preparation. The key measurement for a digital image is pixels per inch, or PPI.
PPI describes how many image pixels will appear within each inch of the printed photograph. Adobe identifies 300 PPI as a standard target for high-quality prints viewed at normal close distances, while larger prints viewed farther away may work successfully at lower effective resolutions.
PPI and DPI Are Not the Same Thing
People often use DPI and PPI interchangeably, but they describe different things.
PPI relates to the pixels in your digital image.
DPI relates to the physical dots a printer places on paper.
When preparing a digital photo, concentrate first on pixel dimensions and the PPI available at the intended print size.
For example, these pixel dimensions provide 300 PPI at several common sizes:
| Print Size | Approximate Pixel Dimensions at 300 PPI |
|---|---|
| 4 × 6 in | 1200 × 1800 px |
| 5 × 7 in | 1500 × 2100 px |
| 8 × 10 in | 2400 × 3000 px |
| 11 × 14 in | 3300 × 4200 px |
| 16 × 20 in | 4800 × 6000 px |
These numbers work as useful targets, not absolute pass-or-fail rules. Viewing distance, subject matter, paper choice, sharpening, and the printing process can all influence how much resolution you actually need.
Do Not Confuse Changing PPI With Creating More Detail
Changing a resolution field from 72 PPI to 300 PPI does not automatically make a low-resolution image suitable for printing.
This mistake causes a lot of frustration.
Suppose a file contains only 900 × 1200 pixels. Typing “300” into the resolution box does not suddenly create the same genuine photographic information found in a 3000 × 4000-pixel original. Without resampling, the software simply changes how densely it assigns the existing pixels to the print. Adobe explains that changing resolution without resampling preserves the same total image data and changes the physical print dimensions instead.
When Resampling Makes Sense
Modern editing software can enlarge photographs intelligently, and AI-assisted enlargement has improved significantly. Still, enlargement cannot recover every detail that the original camera failed to capture.
Use resampling when:
-
The original file falls slightly below the desired resolution
-
You have no larger source image
-
The intended print will hang at a normal viewing distance
-
The image contains relatively forgiving textures
-
Careful enlargement produces a visually clean result
Treat aggressive enlargement cautiously when faces, text, fine artwork, hair, architectural details, or other precise elements matter.
Match the Crop to the Final Print Size
A digital photo and a physical print do not always share the same aspect ratio.
That difference often surprises customers because they expect the entire image to appear automatically. A standard camera photograph may fit one proportion while an 8 × 10 print uses another. Something has to change.
The printer can either crop part of the image or leave borders around it.
Check Important Details Near the Edges
Before cropping, look carefully at:
-
Faces
-
Hands and feet
-
Hair
-
Product edges
-
Buildings
-
Signs
-
Artwork
-
Decorative borders
-
Important background objects
A composition that looks spacious on screen can suddenly feel cramped after cropping.
We pay particular attention to this issue with portraits and emotionally important photographs because losing part of a face, hand, or meaningful background detail can change the entire image.
For projects where choosing the right original matters as much as technical image quality, these photo selection tips provide useful context on selecting photographs that reproduce clearly.
Crop Before Making Detailed Corrections
Set the final aspect ratio early in the process.
This approach helps you evaluate the image that people will actually see rather than spending time adjusting areas that the final print may remove.
Correct Exposure Without Destroying Highlight and Shadow Detail
Printing usually exposes problems that a bright screen can hide.
A monitor produces its own light. Paper does not. Because printed photographs reflect ambient light instead of emitting it, dark images can feel heavier on paper than they did on a bright display.
Before sending a file to print, examine:
-
Shadow detail
-
Bright highlights
-
Skin tones
-
Midtone contrast
-
White balance
-
Overall brightness
Watch the Histogram Instead of Trusting Brightness Alone
A histogram helps reveal whether editing has pushed highlights or shadows beyond useful detail.
You do not need to make every histogram mathematically perfect. A dark nighttime photograph should still look dark. A bright snowy scene should remain bright. The goal is to preserve intentional detail rather than flatten every image into the same tonal range.
Avoid Excessive HDR-Style Editing
Heavy shadow recovery and aggressive clarity may look dramatic on a small screen, but those adjustments can create halos, unnatural texture, color noise, and harsh skin once printed.
Subtle edits usually age better.
Handle Color Carefully Before Printing
Color creates another major gap between screen expectations and printed results.
Different screens display color differently, and every combination of printer, ink, and paper has its own reproducible color range. Adobe's color-management guidance explains that ICC profiles help applications translate color between input devices, monitors, documents, printers, and specific printing conditions.
That means a photograph cannot always reproduce every highly saturated screen color exactly as displayed.
Keep an Embedded Color Profile
Do not strip the color profile from your finished image.
An embedded profile tells color-managed software how to interpret the file's color values. Without that information, another device or application may interpret the same numbers differently.
Common photographic working spaces include:
-
sRGB
-
Adobe RGB
-
ProPhoto RGB
sRGB provides broad compatibility, while Adobe RGB can preserve a wider range of certain printable colors. Adobe recommends coordinating commercial print color preparation with the print provider because some workflows prefer RGB files and perform their own output conversion.
Do Not Convert to CMYK Automatically
Many people assume that every photo needs CMYK conversion before printing.
That approach can create unnecessary problems.
Professional photographic and digital printing workflows often accept RGB files and handle conversion using profiles created for a particular printer and paper combination. Ask the print provider which color space they prefer before converting the image yourself.
Calibrate Your Monitor When Color Accuracy Matters
If you regularly prepare artwork, product photography, professional portraits, portfolios, or color-sensitive prints, monitor calibration deserves attention.
A monitor that runs too bright may encourage you to darken images unnecessarily. A display with a cool or warm color cast may also cause you to make corrections that the actual file does not need.
Hardware calibration tools offer the most reliable approach, but even basic display discipline helps.
Avoid editing photographs while using:
-
Maximum display brightness
-
Night-shift modes
-
Blue-light filters
-
Highly saturated display modes
-
Automatic color-changing settings
Use a neutral viewing environment whenever color matters.
Choose the Right File Format for Photo Printing
File format matters, but photographers sometimes worry about it more than necessary.
A high-quality JPEG can produce an excellent photographic print when saved correctly. TIFF provides another strong option when you need lossless storage, larger files, or a more controlled professional workflow.
JPEG Works Well for Many Finished Photos
Use JPEG when:
-
You have completed all editing
-
You need a manageable file size
-
You save at a high-quality setting
-
Your workflow does not require layers
Avoid repeatedly opening, editing, and resaving the same JPEG because each lossy save can introduce additional compression.
TIFF Works Well for Master Files
TIFF suits archival or professional workflows where preserving image data matters more than minimizing file size.
It can work especially well for:
-
Fine photography
-
Artwork reproduction
-
Retouched master files
-
Archival images
-
Professional production workflows
Keep the RAW File Even After Exporting
If your camera captured a RAW file, keep it.
RAW files preserve much more original capture information than finished JPEG exports, giving you greater flexibility for future color correction, exposure recovery, and large-format output.
The print-ready file may be a JPEG or TIFF, but the RAW original remains valuable.
Apply Sharpening at the Right Stage
Every digital photograph benefits from appropriate sharpening, but more sharpening does not automatically create a better print.
Sharpening increases local edge contrast. Used carefully, it makes details look crisp. Used aggressively, it creates halos, rough skin, noisy shadows, and artificial-looking edges.
Judge Sharpening After Resizing
Resize the image for its intended output first, then evaluate final sharpening.
A photograph prepared for a small 5 × 7 print may need different sharpening from the same image prepared for a large wall print.
Look closely at:
-
Eyes and eyelashes
-
Hair
-
Fabric
-
Tree branches
-
Building edges
-
Printed text within photographs
-
Fine artwork details
Stop before edges begin to look outlined.
Reduce Noise Without Removing Natural Texture
High-ISO photographs, older phone photos, underexposed images, and scanned photographs can contain digital noise.
Noise reduction helps, but aggressive smoothing creates another problem: plastic-looking skin and smeared texture.
We usually prefer to preserve a little natural grain rather than remove so much noise that the image loses character.
This tradeoff becomes particularly important with:
-
Older family photographs
-
Night photography
-
Historical images
-
Film scans
-
Low-light event photographs
A clean print does not need to look artificially perfect.
Check the Photo at the Actual Intended Print Size
One of the most useful steps happens near the end.
Stop evaluating the image only while zoomed to 100% on a monitor. Consider how large the print will actually appear and how far away people will view it.
A minor imperfection that looks obvious at extreme screen magnification may disappear completely in a normal print. At the same time, a slightly soft image can become much more noticeable when enlarged.
Ask three questions:
-
How large will we print this image?
-
How closely will people view it?
-
Which details actually matter at that viewing distance?
These questions prevent unnecessary editing and help determine whether the available resolution makes sense.
Consider the Paper Before Finalizing the Image
Paper changes the character of a photograph.
Glossy surfaces can emphasize contrast, saturation, and fine detail. Matte papers create softer reflections and can give photographs a more subdued appearance. Fine-art papers introduce their own texture and tonal characteristics.
The same image can therefore feel different across several substrates.
Match the Surface to the Photograph
A highly detailed travel photograph may benefit from a surface that preserves crisp detail, while a portrait, historic photograph, or artistic image may suit a softer finish.
There is no universally correct paper.
The right choice depends on the photograph, lighting conditions, intended display, handling requirements, and personal preference.
Run a Final Pre-Print Check
Before uploading or sending a file, perform one final check rather than assuming the editing software handled everything correctly.
Review the following:
-
Correct final dimensions
-
Sufficient pixel resolution
-
Intentional cropping
-
Straight horizon and perspective
-
Natural skin tones
-
Controlled highlights
-
Visible shadow detail
-
Appropriate color profile
-
No accidental compression
-
Correct orientation
-
Suitable file format
-
Appropriate sharpening
-
No obvious dust, marks, or editing artifacts
Also confirm that you have not accidentally supplied a thumbnail, preview image, or social-media download instead of the master file.
That mistake happens more often than many people expect.
Common Photo Printing Mistakes We Try to Catch Early
Several preparation problems appear repeatedly because they look harmless on screen.
Enlarging a Small Internet Image
A file can occupy a large area on a monitor while containing very few pixels. Always check the actual pixel dimensions instead of judging resolution by how large the photo looks on screen.
Over-Saturating Colors
Extremely vivid blues, greens, reds, and neon colors can exceed what a particular print process or paper can reproduce. Keep color realistic unless the artistic intent requires otherwise.
Making the Image Too Dark
Bright screens often disguise underexposure. Review shadows carefully before printing.
Cropping After Important Design Work
Choose the print ratio before completing detailed retouching or layout work.
Sending the Wrong Version
Use clear filenames such as:
family-portrait-8x10-final.jpg
instead of:
IMG_4827-edit-final-new2.jpg
Simple file management prevents expensive confusion.
FAQs
What Resolution Should a Photo Have for High-Quality Printing?
Around 300 PPI at the intended print size provides a strong target for photographs that people will view closely. Large-format prints can often use a lower effective PPI because viewers stand farther away. Always consider the final size, pixel dimensions, subject detail, and viewing distance together.
Should We Use JPEG or TIFF for Photo Printing?
A high-quality JPEG works well for many finished photographic prints. TIFF makes sense when preserving maximum image data, supporting an archival workflow, or retaining a high-quality master matters. Keep the original RAW file when one exists.
Should Photos Be Converted to CMYK Before Printing?
Not automatically. Many professional digital and photographic printing systems work effectively with RGB files and convert them using printer-specific color profiles. Ask the print provider about their preferred color workflow before making a CMYK conversion.
Can a Low-Resolution Photo Still Produce a Good Print?
Sometimes. Print size, subject matter, viewing distance, enlargement quality, and the original file all matter. A slightly undersized image can often produce an acceptable print, while a severely compressed thumbnail may not contain enough information for a clean enlargement. Evaluate the actual file instead of relying only on the listed PPI value.
Better Prints Begin Before the File Reaches the Printer
High-quality photo printing depends on more than choosing good equipment. The file itself needs enough genuine image detail, sensible cropping, controlled color, balanced exposure, an appropriate color profile, and preparation for the actual print size.
We get better results when we treat digital photo preparation as part of the printing process rather than as a separate last-minute task. Starting with the original file, checking pixel dimensions, protecting important details during cropping, and avoiding unnecessary editing solve many problems before production begins.
When a photograph carries personal, artistic, or professional value, a careful file check can make the difference between a print that simply looks acceptable and one that reproduces the image with the clarity and character you intended. For help evaluating a photograph or preparing it for professional output, Laguna Digital can provide guidance on the file, print size, and production requirements before you move forward.
 French
 English
 Arabic
 Spanish
 Portuguese
 Deutsch
 Turkish
 Dutch
Dutch
 Italiano
 Russian
 Romaian
 Portuguese (Brazil)
 Greek
Greek