

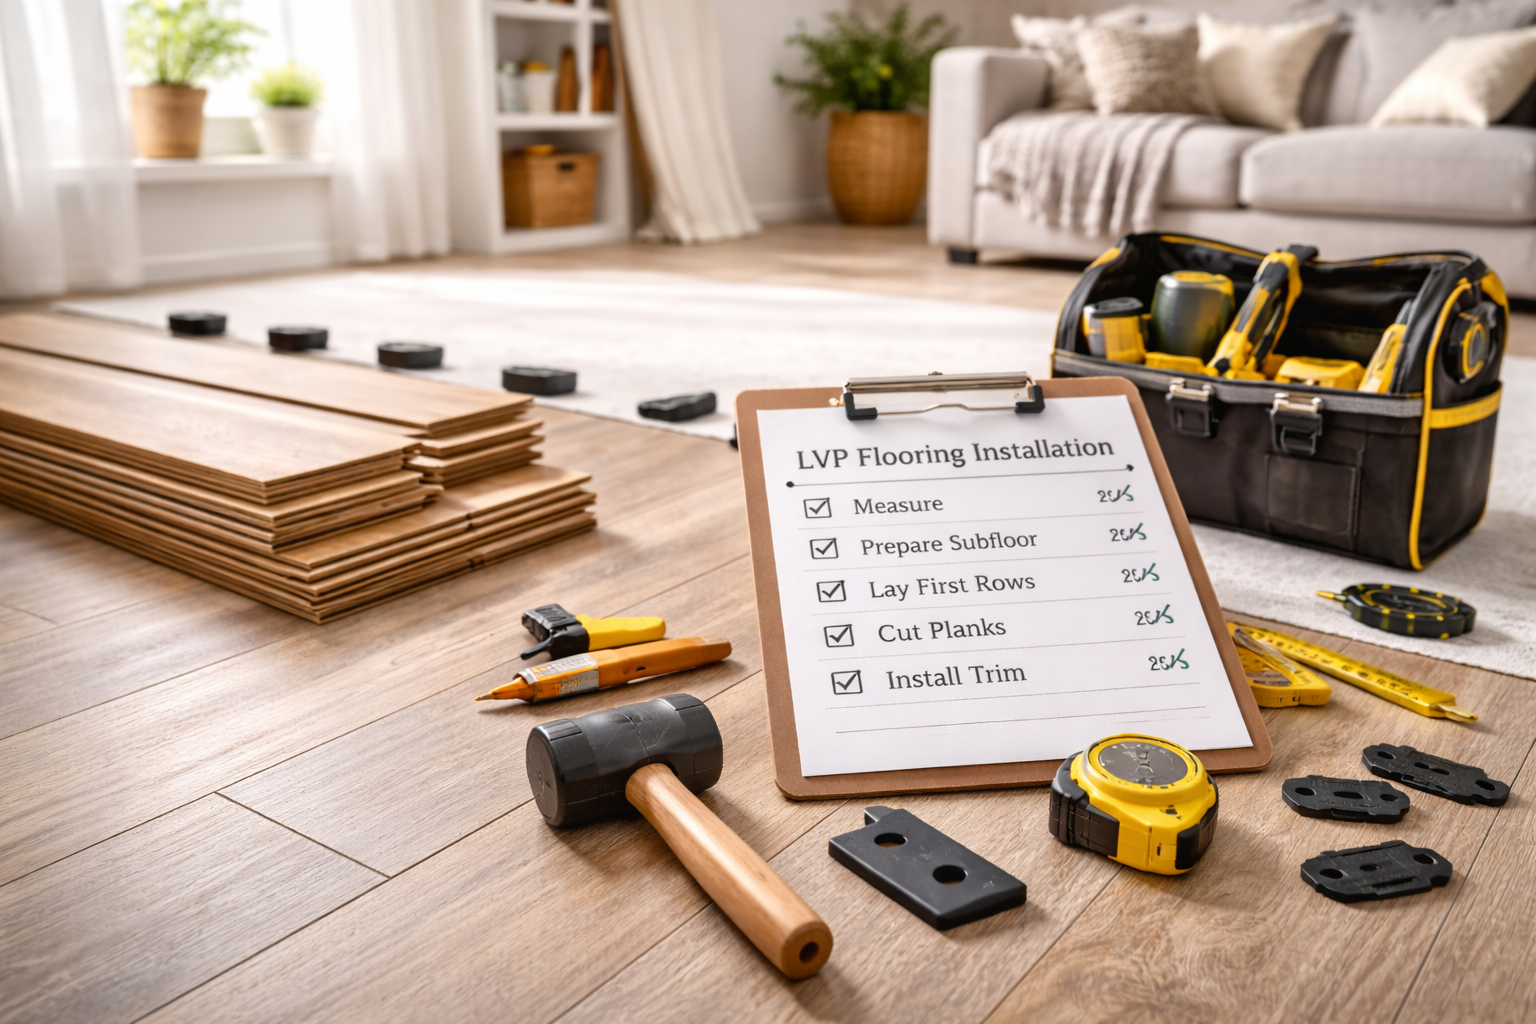
🪵 Beginner’s Guide to Installing Luxury Vinyl Plank (LVP) Flooring
Luxury Vinyl Plank (LVP) flooring has become one of the most popular choices for DIY home renovations — and for good reason. It’s durable, water-resistant, affordable, and surprisingly beginner-friendly.
If you’re considering upgrading your floors, this step-by-step guide will help you confidently install LVP flooring yourself.
📦 Why Choose LVP Flooring?
- Water-resistant (great for kitchens and bathrooms)
- Scratch-resistant and pet-friendly
- Easy click-lock installation
- Affordable compared to hardwood
- Realistic wood-look finishes
LVP offers the look of hardwood without the high cost or maintenance.
🛠️ Tools You’ll Need
- Measuring tape
- Utility knife or vinyl cutter
- Rubber mallet
- Tapping block
- Spacers
- Level
Most LVP installations don’t require power saws unless you’re cutting around tricky corners.
📏 Step 1: Measure & Plan Your Layout
Measure the room carefully and calculate how many boxes of LVP you’ll need (add 5–10% extra for waste).
Tip: Plan your layout so the planks run parallel to the longest wall for a natural look.
🧹 Step 2: Prepare the Subfloor
Your subfloor must be:
- Clean
- Dry
- Level
Remove old carpet, debris, and repair uneven spots. LVP performs best on smooth surfaces.
📐 Step 3: Install the First Row
Start along the longest straight wall. Use spacers to leave a small expansion gap (usually 1/4 inch) between the planks and the wall.
This gap allows for natural expansion and contraction.
🔗 Step 4: Click & Lock the Planks
Most LVP uses a click-lock system:
- Angle the plank into the previous row
- Press down until it clicks
- Use a tapping block if needed
Stagger seams for a natural wood-floor appearance.
✂️ Step 5: Cut Around Obstacles
Use a utility knife to score and snap planks for straight cuts. For door frames or vents, measure carefully before cutting.
🚪 Step 6: Install Trim & Finishing Touches
Remove spacers and install baseboards or quarter round to cover expansion gaps.
This final step makes your installation look professional.
✔️ Final Thoughts
LVP flooring is one of the most beginner-friendly renovation upgrades available. With proper planning and careful installation, you can transform an entire room in a weekend — without hiring a contractor.
💬 Share Your Thoughts
Have you installed LVP flooring before? What tips would you give a beginner? Share your experience in the comments below!